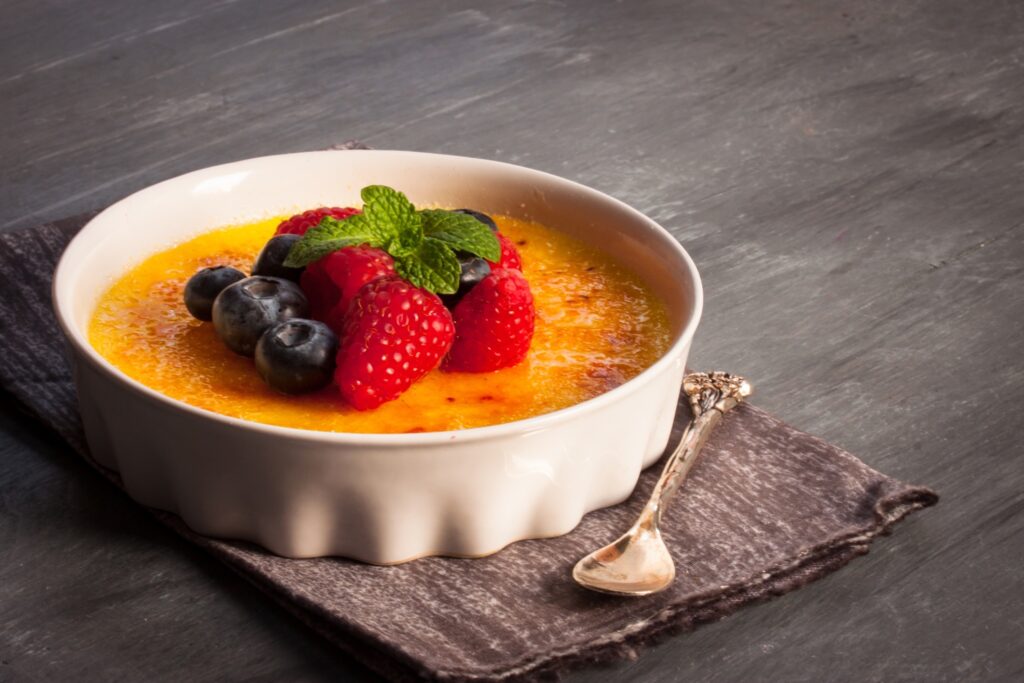
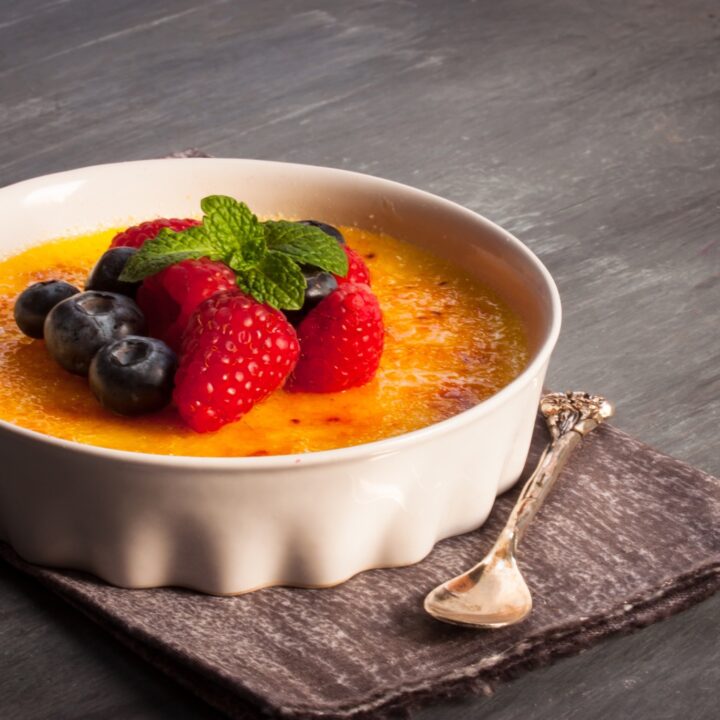
Creme brulee (technically spelled “crème brûlée” in all its diacritic glory), with its crackling caramelized crust and velvety smooth custard, has secured its place as a timeless dessert. This classic French delicacy is renowned for its exquisite balance of flavors and luxurious texture.
Origin
Crème brûlée, meaning “burnt cream” in French, boasts a rich culinary heritage dating back to the late 17th century. Some culinary historians speculate that the concept of a creamy custard with a caramelized sugar crust evolved from the earlier practices of using a hot iron to caramelize sugar on various dishes. Over time, this technique was applied to custards, leading to the creation of this luxuriously creamy caramelized dish as we know it today.
This dessert has captivated taste buds across continents, transcending borders with its irresistible allure. (In the US, July 27 is National Creme Brulee Day.) A testament to French gastronomy, creme brulee showcases the elegance of simplicity, allowing the few ingredients it requires to shine.
Harmony of ingredients
The beauty of creme brulee lies in its minimalist ingredient list, where each element plays a crucial role. The custard base is crafted from a harmonious blend of egg yolks, sugar, vanilla, and cream. The quality of these ingredients is paramount in achieving a truly exceptional dessert. The eggs contribute richness and stability, while the cream provides a luscious, silky texture. Fragrant vanilla infuses the custard with its distinctive aroma, completing the symphony of flavors.
Torching technique
The defining feature of crème brûlée lies in the contrasting textures created by its caramelized sugar topping. Achieving the perfect brûlée requires mastering the art of torching.
- Sprinkle an even layer of granulated sugar on top of the chilled custard. The layer should be thin but fully cover the surface for even caramelization.
- Hold a culinary torch at a slight angle, about 2-3 inches away from the sugar-coated surface. Make sure the flame is not too close to avoid scorching/charring/burning the sugar.
- Begin moving the torch flame evenly across the surface of the sugar, starting from one end and moving towards the other. Keep the flame in constant motion to prevent concentrated heat in one spot.
- As you torch the sugar, you’ll notice it melting and gradually caramelizing. Aim for a rich golden-brown color, which indicates a perfectly caramelized crust. Be cautious not to overdo it, as excessive heat can cause the sugar to burn.
- Pay attention to any areas that might be unevenly caramelized. If you notice any spots that are lighter than the rest, go over them again with the torch, applying gentle heat until they match the desired color.
- Once the sugar has caramelized to your liking, allow it to cool and harden for a few minutes before serving. This cooling period ensures a satisfying crunch when you break through the caramelized crust.
Remember to exercise caution when working with an open flame, and always follow safety guidelines provided by the manufacturer for your culinary torch. With practice and patience, you’ll develop the skill to achieve a beautifully caramelized sugar crust, adding the perfect finishing touch to your crème brûlée.
Presentation and pairings
Serving crème brûlée is a visual feast in itself. The elegant ramekin, holding the creamy treasure within, offers a tempting sight. Accompanying garnishes like fresh berries, mint leaves, or a dusting of cocoa powder can elevate both the aesthetic and taste of the dessert. When considering pairings, opt for complementary flavors that enhance the velvety custard. A sip of espresso, a hint of citrus, or a touch of dark chocolate can harmonize beautifully with the creamy indulgence.
Variations
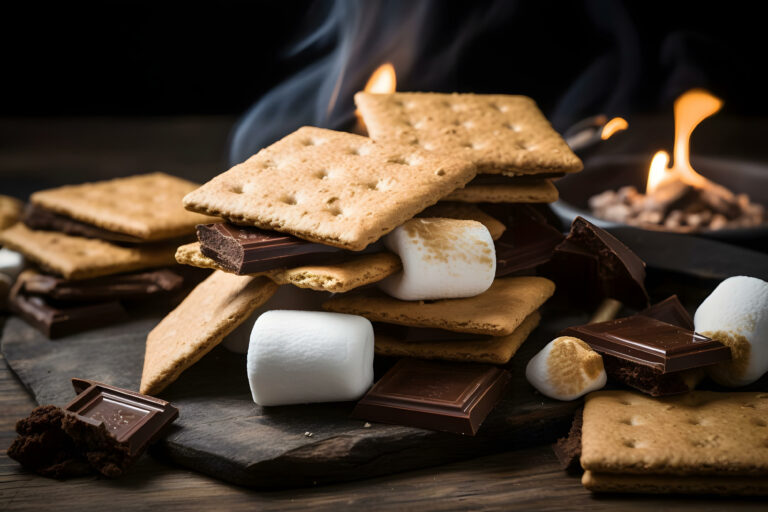
While traditional crème brûlée is a timeless masterpiece, adventurous culinary souls have explored variations that add a playful twist. From infusing the custard with subtle notes of lavender, cardamom, or even matcha, to experimenting with alternative sugars or adding a dash of liqueur, there are endless avenues for creative exploration. These inventive adaptations offer a fresh take on the classic while preserving the essence of crème brûlée’s sheer decadence. Additionally, this traditional burnt cream has been incorporated into other familiar desserts and sweet dishes to create an endless number of variations. Some popular variations include
- creme brulee donuts
- creme bruleegels (crème brûlée bagel)
- creme brulee French toast
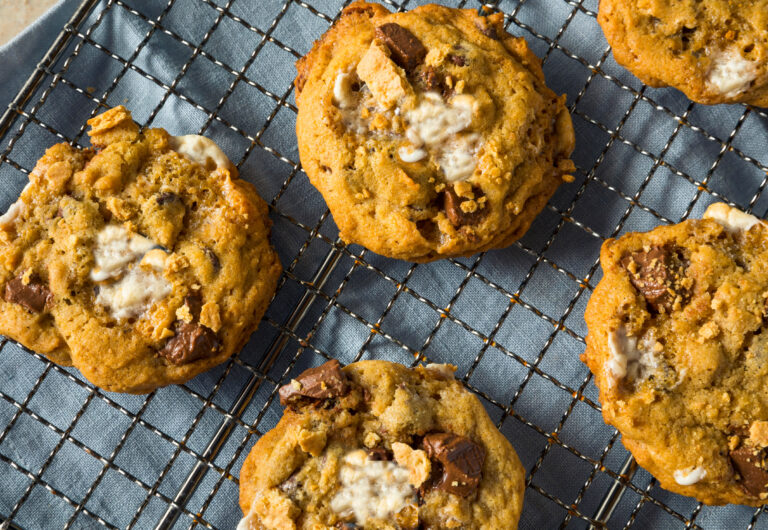
- creme brulee cookies
- creme brulee coffee
- creme brulee cake
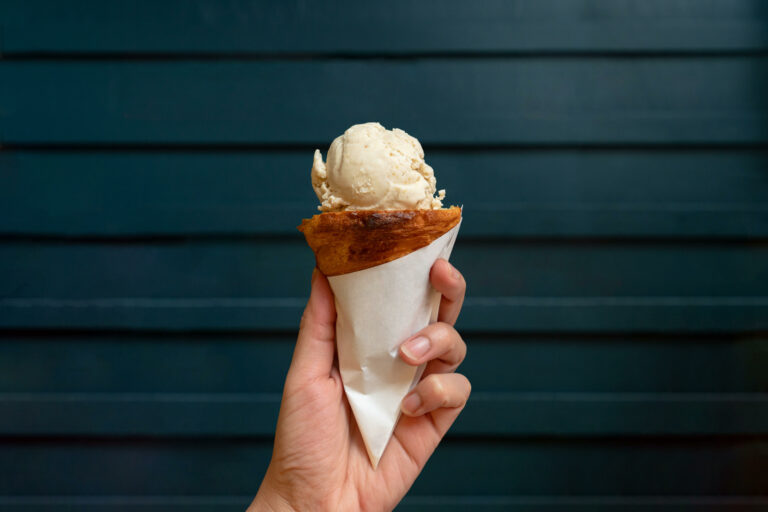
- creme brulee ice cream
- creme brulee brownies
- creme brulee cheesecake
- creme brulee pie
How to make it
Although making a traditional crème brûlée can seem intimidating, it’s actually pretty straightforward. Here is an easy-to-follow recipe that allows for a bit of customization to match your taste:
creme brulee
Traditional French "burnt cream"
Ingredients
- 6 large egg yolks
- 1/2 cup granulated sugar, plus extra for caramelizing
- 2 cups heavy cream
- 1 teaspoon pure vanilla extract
- Pinch of salt
- Toppings of your choice (e.g., fresh berries, mint leaves, cocoa//matcha powder)
Instructions
- Preheat your oven to 325°F (165°C). Place six ramekins in a baking dish or roasting pan, ensuring they fit comfortably without touching each other.
- In a mixing bowl, whisk the egg yolks and sugar together until the mixture becomes pale and creamy.
- In a saucepan over medium heat, pour the heavy cream and add the vanilla extract and salt. Heat the mixture until it reaches a gentle simmer. Stir occasionally to prevent scorching.
- Slowly pour the hot cream mixture into the egg yolks while whisking continuously. This process (i.e. tempering) ensures the eggs are gradually warmed without scrambling.
- Once fully combined, strain the custard mixture through a fine-mesh sieve to remove any lumps or impurities.
- Divide the custard evenly among the ramekins, filling them about three-quarters full.
- Place the baking dish with the ramekins on the oven rack. Carefully pour hot water into the baking dish, filling it about halfway up the sides of the ramekins. This water bath, or bain-marie, will help ensure even cooking and a smooth texture.
- Bake for approximately 30-35 minutes or until the custard is set around the edges but still slightly jiggly in the center. The cooking time may vary, so keep an eye on the custards as they bake.
- Remove the baking dish from the oven and carefully take out the ramekins from the water bath. Allow them to cool to room temperature.
- Once cooled, cover each ramekin with plastic wrap and refrigerate for at least two hours or overnight to allow the custard to set fully.
- Prior to serving, sprinkle a thin, even layer of granulated sugar on top of each custard-filled ramekin.
- Caramelize the sugar using one of the following methods:
a. culinary torch: Hold the torch flame about 2-3 inches away from the sugar and move it evenly across the surface until the sugar melts and caramelizes. Be cautious and keep the torch moving to avoid burning the sugar.
b. broiler: Place the ramekins on a baking sheet and position them under the broiler. Watch them closely as the sugar caramelizes quickly. Rotate the baking sheet if necessary for even browning. - Allow the caramelized sugar to cool and harden for a few minutes before serving.
- Optional: Just before serving, you can decorate each crème brûlée with your favorite toppings. Consider adding fresh berries, a sprinkle of cocoa powder, or a garnish of mint leaves. Get creative and experiment with flavors and textures!
- Serve the crème brûlée immediately and enjoy!
Recommended Products
Glutto earns a tiny commission from qualifying Amazon purchases.
-
 Sondiko Butane Torch S400, Refillable Kitchen Torch Lighter, Fit All Butane Tanks Blow Torch with Safety Lock and Adjustable Flame for Desserts, Creme Brulee, and Baking—Butane Gas Is Not Included
 -
 DOWAN 8 oz Ramekins - Ramekins for Creme Brulee Porcelain Ramekins Oven Safe, Classic Style Ramekins for Baking Souffle Ramekins Bowls, Set of 6, White